Contacts
- What are contacts?
- When do I use contacts?
- How to view the contact list
- How to search and sort the contact list
- How to add contacts
- How to open contact details
- How to add and remove a contact photo
- What are the supported file types and size limits for contact photos?
- How to update contact information
- How to read the "Insight" tab
- How to import contacts
- How to delete contacts
Contacts are:
- Groups or individuals with whom you and your team have established a relationship with
- People with whom you and your team have the potential to establish a relationship with
- Accessed from the "People" menu
- Useful in account, opportunity, and partner planning
For account planning
Groups or individuals who may assist your team in building a strategic engagement with the account, meeting quota, and increasing ongoing revenue
For opportunity planning
Groups or individuals who may assist your team in closing deals
For account planning
- Identify all the people in your account and begin to develop a plan for those individuals with whom you should build/expand on relationships with in order to strategically engage with the customer.
- Identify and fill in gaps in the list of contacts so that you have the appropriate people when building relationship maps and relationship development plans.
- When Revegy is embedded in a CRM, contacts should be pulled into Revegy.
- Avoid sharing your contact list with your customers or partners. Instead, a relationship map is a better collaborative tool for understanding your customer's landscape.
For opportunity planning
- Identify all the people that may help or hurt when closing deals.
- Identify and fill in gaps in the list of contacts so that you have the appropriate people when building influence maps.
- When Revegy is embedded in a CRM, contacts should be pulled into Revegy.
- Avoid sharing your contact list with your customers or partners. Instead, an influence map is a better collaborative tool for understanding your customer's landscape.
- Navigate to an account, opportunity, or partner.
-
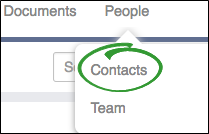
Hover over the "People" drop down list from the main top navigation menu, and click Contacts.
An example of the contact list is below.

- Name: First and last name of the contact
- Title: Contact's professional title
- External: Indicates if the contact is external to the currently viewed record, such as a partner or consultant
- Company/Group: Company/Group the contact is affiliated with
- Phone: Main or office phone number
- Mobile: Cell phone number
- Email: Contact's email address
- Active: Indicates if the contact is currently active or inactive
- Linked: Only displays when Revegy is embedded in a CRM. Indicates if the contact is linked between the CRM and Revegy
- (if enabled) Parent accounts may display contacts of child accounts and opportunities. If a contact is updated on either the parent or child record, then it is updated in all linked places.
- Click on any column header to sort the list by descending or ascending order.
- Use the "Search Contacts" function above the contact list to filter contacts.
- As you type your criteria, the list filters.
- You can search contacts by name.
- Click New in the contact list.
-
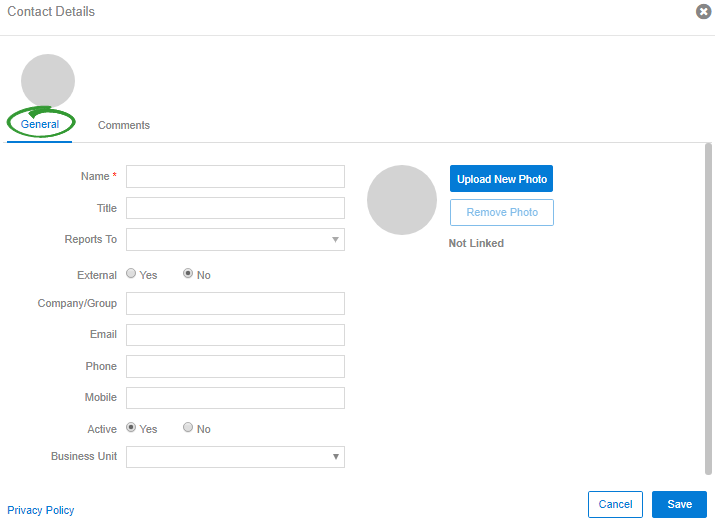
Enter the known contact details in the "General" tab.
- Name: First and last name
- Title: Contact's professional title
- Report to (if enabled): Who the contact reports to, drives the auto-layout contact maps
- External: Indicates if the contact is external to the currently viewed record, such as a partner or consultant
- Company/Group: Company/Group the contact is affiliated with
- Email (if enabled): Contact's email address
- Phone (if enabled): Main or office phone number
- Mobile (if enabled): Cell phone number
- Active: Indicates if the contact is currently active or inactive
- Custom Fields (if enabled): Fields to identify any additional information
-
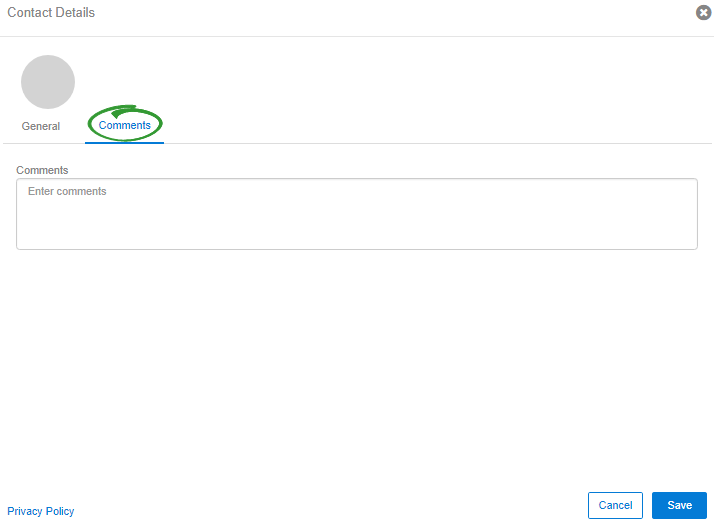
(if enabled) Enter the known contact details in the "Comments" tab.
- Comments (if enabled): May be named differently, indicates any additional helpful notes about the contact
- Political Comments (if enabled): May be named differently, indicates any additional helpful notes about the contact
- Click Save.
|
|
Note: For embedded Revegy users, contacts may also be added through the CRM. If contacts are added in the CRM, they are pushed to Revegy (if enabled). |
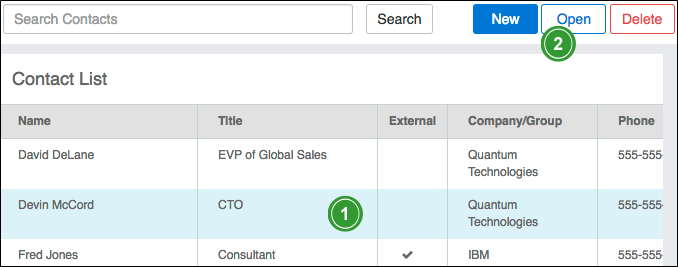
- Highlight a contact in the contact list.
- Click Open.
|
|
Note: You may also double-click a contact to open the details. |
Contact photos may be added when creating new contacts or after a contact is saved to the contact list.
Add by browsing directories and folders
- Create a new or open an existing contact.
-
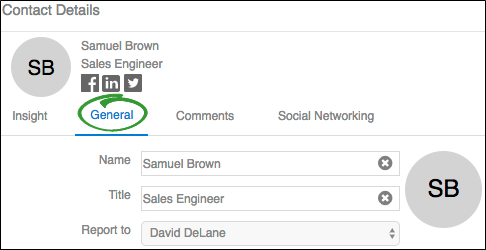
Click "General" to open the "General" tab.
-
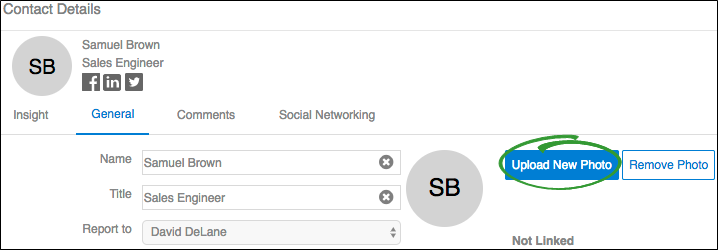
Click Upload New Photo.
-
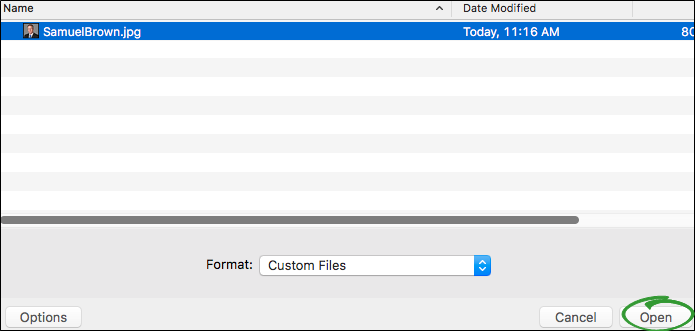
Select the photo you want to upload.

Note: Supported file types include: JPG, PNG, and GIF. There is no size limit. -
Click Open. The contact photo is added to the contact details.
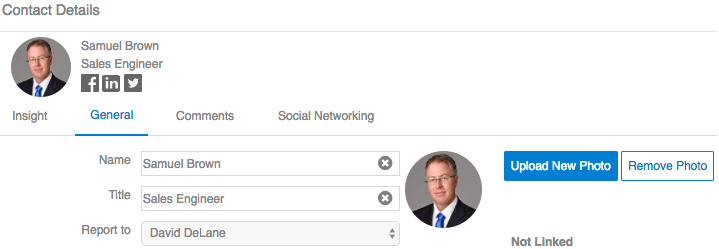
- Click Save on the "Contact Details" pop-up.
Add by dragging and dropping from your desktop
- Add the contact's photo directly to your desktop.
- Create a new or open an existing contact.
- Click "General" to open the "General" tab.
-
Click, drag, and drop the photo from your desktop to the "Contact Details" pop-up. The contact photo is added to the contact details.

- Click Save on the "Contact Details" pop-up.
Remove a contact photo
- Open an existing contact.
-
Click "General" to open the "General" tab.
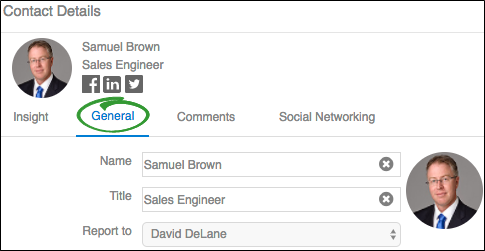
-
Click Remove Photo.
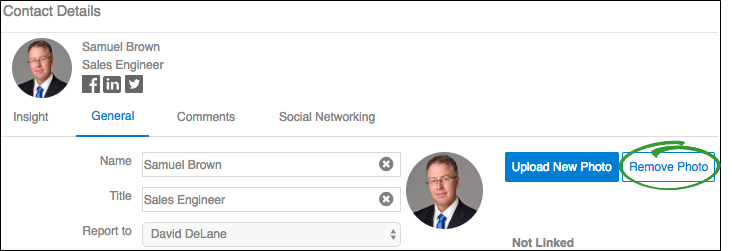
- Click Save.
Supported file types
- JPG
- PNG
- GIF
Size limit
There is no size limit for contact photos.
- Highlight a contact in the contact list.
-
Click Open.

Note: You may also double-click a contact to open the details. -
Click "General" to open the "General" tab.

- Update contact information on this tab.
-
(if enabled) Click "Comments" to open the "Comments" tab.
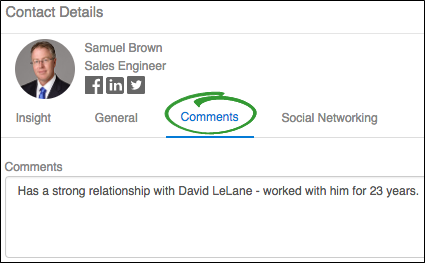
- Update contact information on this tab.
- Click Save.
|
|
Note: For embedded Revegy users, contacts can also be edited through the CRM. If contacts are edited in the CRM, then the same changes are pushed to Revegy (if enabled). |
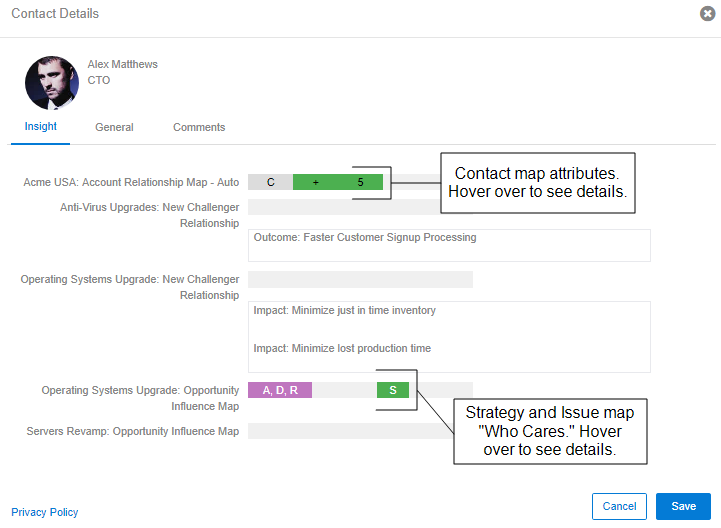
The "Insight" tab:
- Provides a summary of all contact, strategy, and issue maps that the selected contact is added to
- Displays information across all account, opportunity, and partner maps — Contact's email address is used to pull information
- Displays contact attributes that are reflected on each contact map — Hover over each attribute to view the full details
- Displays which issue and strategy map cards the selected contact is added to as "who cares" — Hover over each card to view the record and map name
- Is printed as part of the Insight Report for maps, plans, and call plans
Contacts must be imported as .csv (comma separated value) files.
-
Ensure that the .csv file to import contains the contact information in the correct order.

Note: The order to import contacts is: Name (first and last), title, company/group, phone, mobile, email 
- Click Import in the contact list.
- Select the .csv file to import.
-
Click Open.
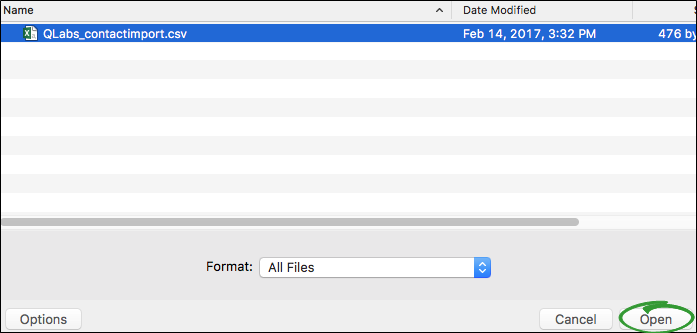
-
Confirm that the import information is correct.
- Click within each cell to edit information if changes need to be made.
- Select the checkbox in the "Skip" column to ignore the row and not import it into Revegy.
- Items marked in red contain errors. Correct errors or mark the row to skip before importing.
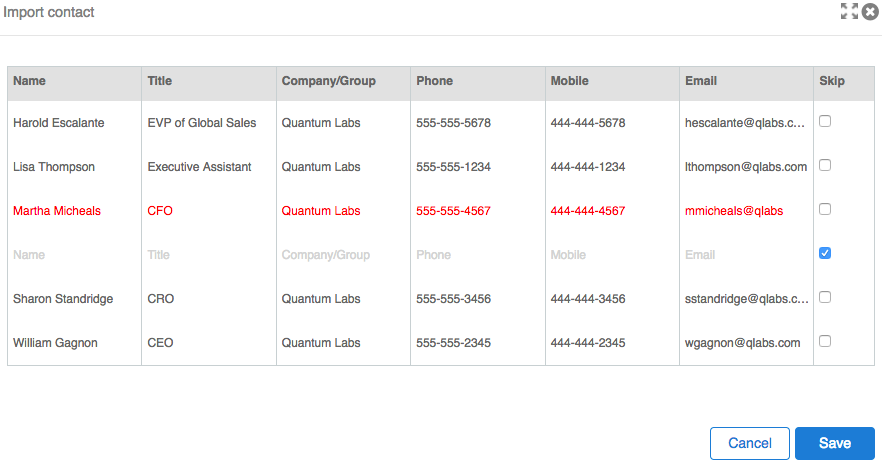
- Click Save.
|
|
Note: A contact cannot be permanently deleted if it is used on any map. A notification of which maps the contact is attached to displays if it cannot be deleted. |
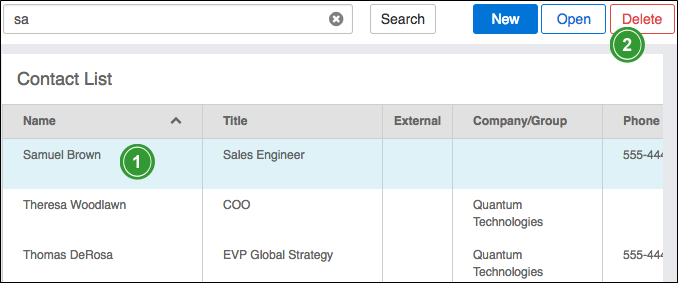
- Highlight a contact in the contact list.
- Click Delete.
- Click Yes to confirm the deletion.
Delete integrated contacts
For embedded Revegy users, contacts can also be deleted through the CRM. If contacts are deleted in the CRM, then they are also deleted in Revegy (if enabled).
When a contact is deleted from the CRM instead of Revegy:
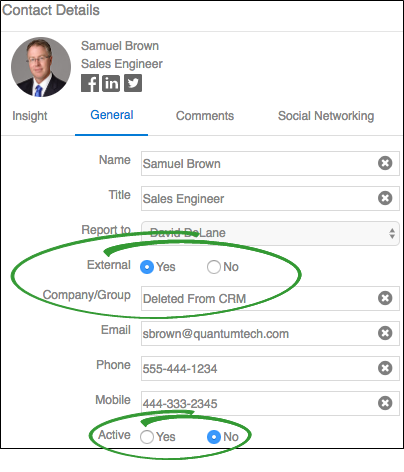
- "Deleted from CRM" displays in the "Company/Group" field of the "Contact Details" and in the contact list in Revegy.
- The contact is marked as external and inactive.
- The contact can be removed from the contact list by deleting it from the contact list in the Revegy embedded window.
