Documents
- What is the Documents section?
- When do I use the Documents section?
- How to view the document list
- How to search and sort the document list
- How to add documents
- What are the supported file types for documents?
- How to open documents
- How to upload changes to documents
- How to add, update, and remove security on documents
- How to delete documents
The Documents section:
- Is useful in account, opportunity, portfolio/territory, and partner planning
- Allows users to upload external documents, such as presentations, templates, guides, and images to Revegy
- Stores archived PDFs of Revegy tools, such as playbooks, maps, plans, and call plans
- Use the Documents section to store external documents, such as presentations, templates, guides, and images.
- Store your archived Revegy playbooks, maps, plans, and call plans for later review and tracking changes.
- Use the security options to restrict user access based on Revegy roles to limit which users have access to certain materials.
- Navigate to portfolio/territory, an account, opportunity, or partner.
-
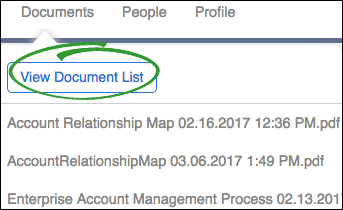
Hover over the "Documents" drop down list from the main top navigation menu, and click View Document List.
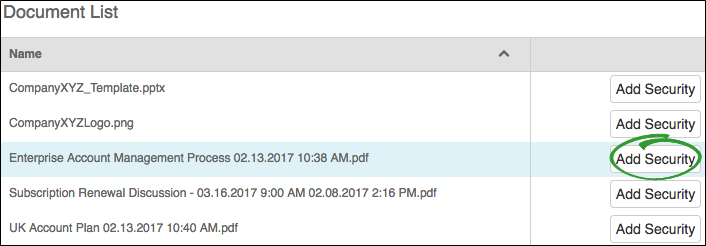
An example of the document list is below.
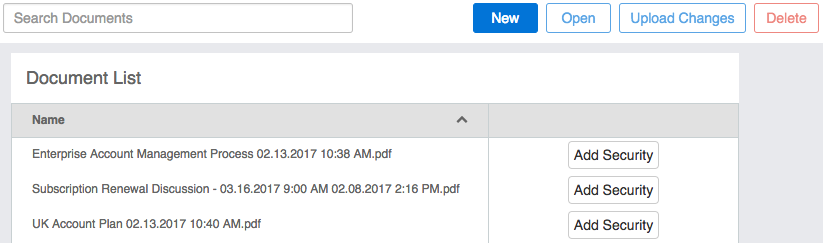
- Name: Document name and file extension
- Attached to Playbook Item: If this column displays, then at least one document is attached to a playbook item.
- Add/Update Security: Used to restrict user access based on Revegy roles
- Click on any column header to sort the list by descending or ascending order.
- Use the "Search Documents" function above the documents list to filter documents.
- As you type your criteria, the list filters.
- You can search by a document name.
- Click New in the document list.
-
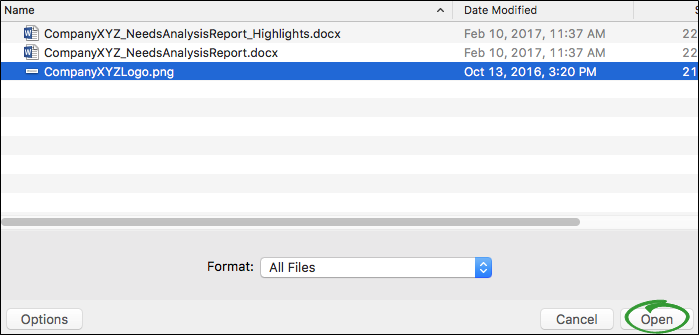
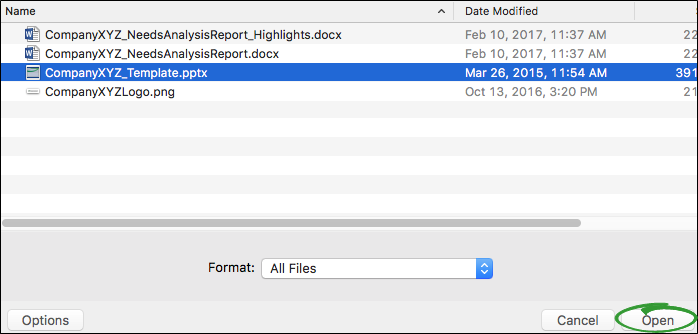
Select the document you want to upload.

Note: Supported file types include: DOC, DOCX, PPT, PPTX, XLS, XLSX, and PDF. You may also upload JPG, GIF, and PNG files.
-
Click Open. The access control prompt opens.
-
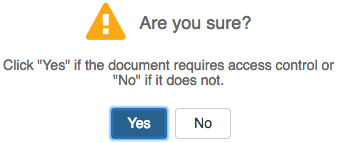
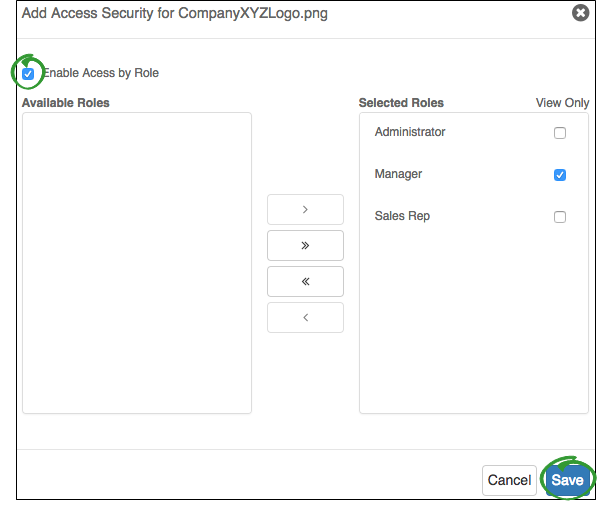
Click Yes if the document requires access control, or No if it does not. If you click "Yes," then the "Add Access Security" pop-up opens.
- Select "Enable Access by Role," then use the arrows in between the "Available Roles" and "Selected Roles" tables to move roles between the two. Select the "View Only" option for a role to grant read-only access.
-
Click Save.
Supported file types include:
- DOC
- DOCX
- PPT
- PPTX
- XLS
- XLSX
- JPG
- GIF
- PNG
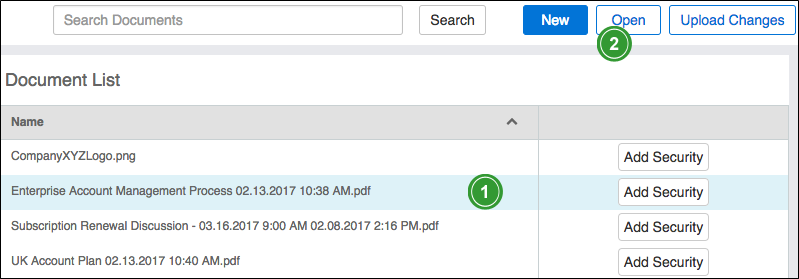
- Highlight a document in the document list.
- Click Open.
|
|
Note: Hover over the "Documents" drop down menu, then select a specific document to open it without viewing the document list. |
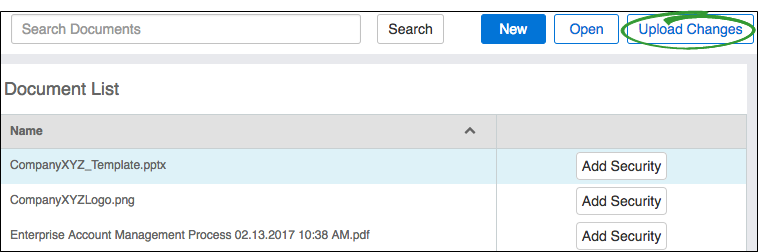
- Highlight a document in the document list.
-
Click Upload Changes.
-
Select the document you want to update.
Note: The updated document must have the exact name and file type as the selected document in the documents list. -
Click Open. The existing document is replaced with the new document.
|
|
Note: This option is only available if roles are enabled by a Revegy administrator. |
Add security
Adding security to documents restricts user access based on access control roles set up by Revegy administrators.
-
Click Add Security for the document that requires restricted access.
-
Select "Enable Access by Role."

-
Use the left and right arrow keys to add or remove roles to and from the "Available Roles" and "Selected Roles" columns. The single arrows move only the selected role. The double arrows move all roles.
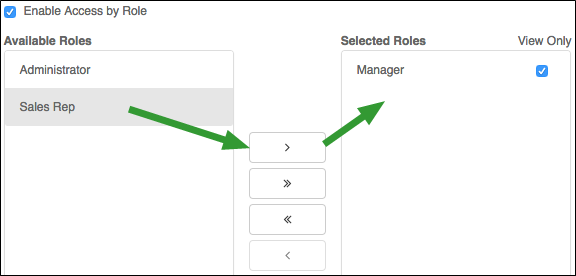
- (optional) Select the "View Only" box next to each role that requires view-only access.
-
Click Save.
Note: You should receive a warning if the role you are assigned to is marked to have "View Only" access or if your role is not added to the "Selected Roles" column. If you mistakenly lock your role out of the document, the primary owner of the record always has access to change the security settings.
Update security
-
Click Update Security for the document that requires a change in restricted access.

-
Use the left and right arrow keys to add or remove roles to and from the "Available Roles" and "Selected Roles" columns. The single arrows move only the selected role. The double arrows move all roles.
- (optional) Select the "View Only" box next to each role that requires view-only access.
-
Click Save.
Note: You should receive a warning if the role you are assigned to is marked to have "View Only" access or if your role is not added to the "Selected Roles" column. If you mistakenly lock your role out of the document, the primary owner of the record always has access to change the security settings.
Remove security
-
Click Update Security for the document that requires a change in restricted access.
-
Deselect "Enable Access by Role."

- Click Save.
|
|
Note: Deleting a document is permanent. |
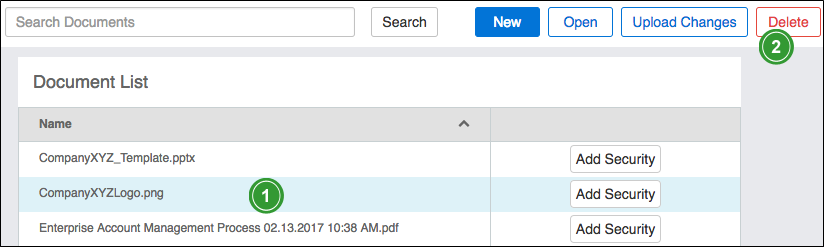
- Highlight a document in the document list.
- Click Delete. A confirmation pop-up appears.
- Click Yes to confirm the deletion.