Table: Two Column
- What are table: two columns?
- How to view, edit, and save table: two columns
- What are the possible response types available?
- How to use "Copy From..."
- How to open additional resources and help links
- How does integration between a table: two column and my CRM work?
Table: two column plan objects are:
- Standard plan objects that allow you to input different types of information into a table with two columns and multiple rows
- Useful when you need to group multiple types of related information (dates, times, descriptions, hyperlinks, etc.) in one section
- Used in plans and call plans and may be integrated with your CRM
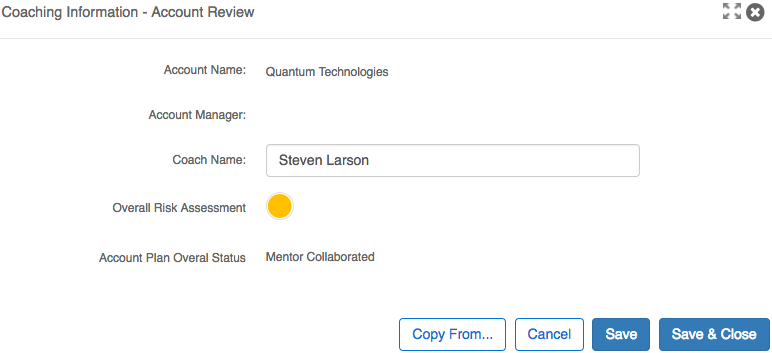
Table: two column plan objects may be viewed and edited from a plan or call plan Table of Contents or from a tab. If enabled, table: two columns may also be added to your record overview page as a widget.
From the Table of Contents
-
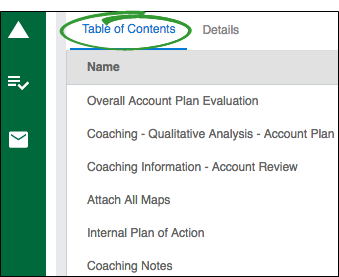
Open a plan or call plan. If enabled, the Table of Contents is opened by default.
-
Click the table: two column plan object name to open the plan object.
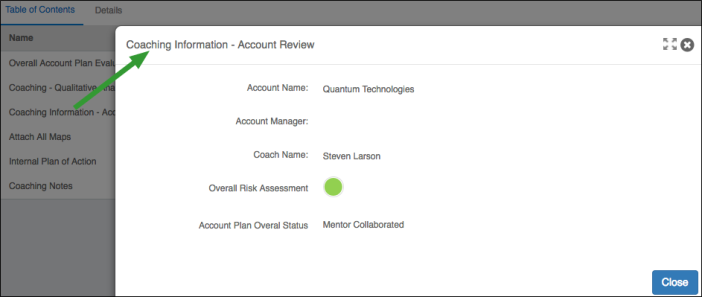
- (optional) Use the expand (
 ) and collapse (
 ) icons to expand or collapse the plan object for more space.
 -
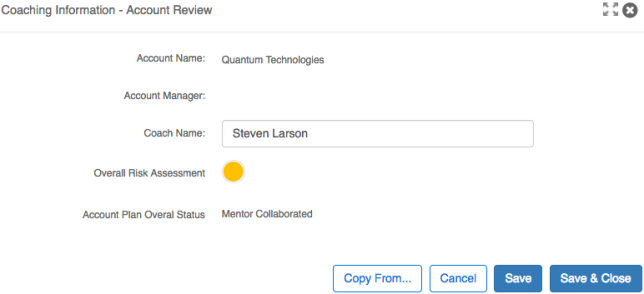
Click within an input field (for example, a text box, a color indicator, a date, a time, or a radio button) to add information to the plan object.
-
Save or cancel your changes with one of the following options:
- Click Save to save information without closing the plan object.
- Click Save & Close to save and close the plan object.
- Click Cancel to close the plan object without saving.
From a tab
- Open a plan or call plan.
-
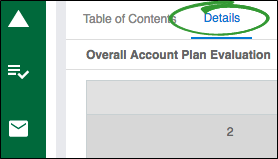
Select the tab the plan object is on, then scroll to find the plan object.
-
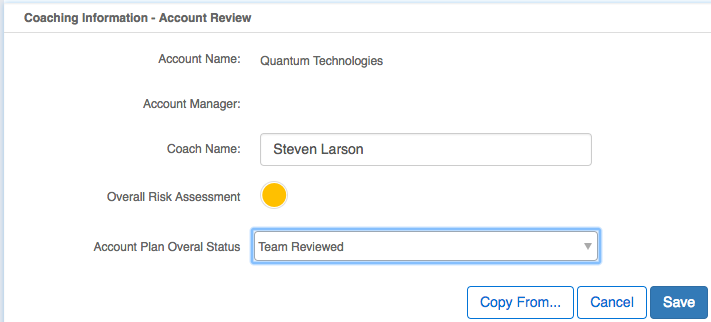
Click within the input box space to add information to the plan object.
-
Save or cancel your changes with one of the following options:
- Click Save to save information and exit edit mode.
- Click Cancel to exit edit mode without saving changes.
From an overview widget
- Open an account, opportunity, partner, or your portfolio/territory overview.
-
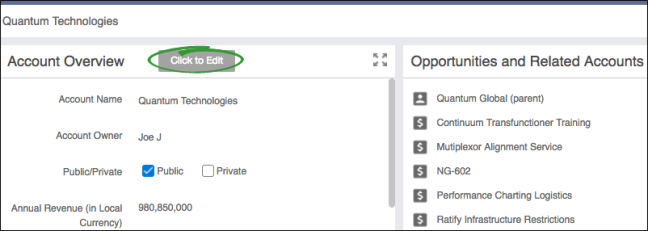
Click the plan object widget to open it.
- (optional) Use the expand (
 ) and collapse (
 ) icons to expand or collapse the plan object for more space.
 -
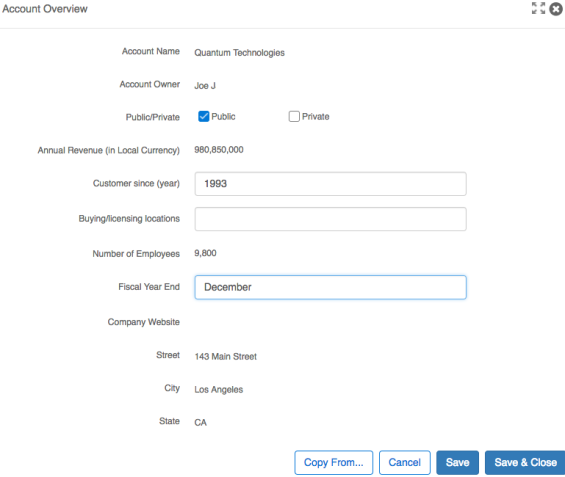
Click within the input box space to add information to the plan object.
-
Save or cancel your changes with one of the following options:
- Click Save to save information without closing the plan object.
- Click Save & Close to save and close the plan object.
- Click Cancel to close the plan object without saving.
Table: two column plan objects are made up of different response types. Table: two columns may have several of the same or any combination of the possible response types.
- Auto Fill: Displays an auto filled response that cannot be edited
- Auto Fill with Edit: Displays an auto filled response that can be edited
- Calculated Question: Calculates numeric responses given down a column and cannot be edited
- Checkbox: Displays one or more selection boxes to check or uncheck
- Color Indicator: Displays a color/shape icon that changes color and/or shape when clicked
- ComboBox: Displays a drop down list that allows you to select options from the list or enter your own text
- Date: Displays a calendar to select a date, future or past
- Drop Down List: Displays a drop down list
- Hyperlink: Displays an input box to enter a URL or file path
- Numeric: Displays an input box that accepts numbers only
- Percent: Displays an input box that accepts numbers only and represents a percentage
- Radio Buttons: Displays one or more radio buttons to select
- Text: Displays an input box that accepts alphanumeric characters, press "Enter" on your keyboard to add a line break
- Time: Displays an input box to manually enter time and a clock that provides selection arrows to select the time and "am" or "pm"
The "Copy From" feature is helpful for using existing plan objects as starting points for new plan objects that are the same configuration and share the same base plan type (template). From an administrative perspective, the plan objects must share a POK (plan object key).
-
Click Copy From... in an open plan object.
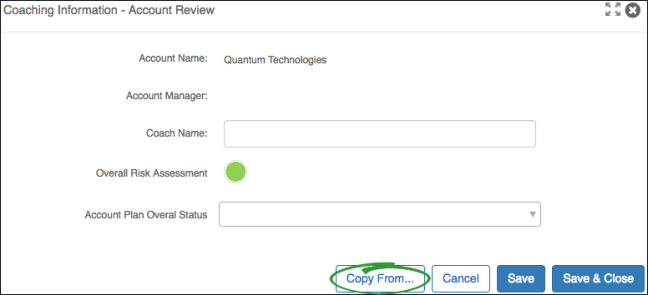
-
Select a record to view plan objects available to copy.

Note: Search "%%" to show all available accounts, opportunities, or partners. Click arrow beside the parent record name to drill down to related opportunities. 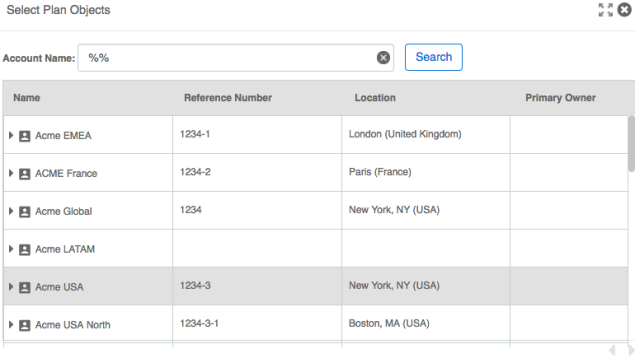
-
Select the plan or call plan to copy from the "Plan Objects Available to be Copied" section.

-
Click Select. The plan object data is added to the currently open plan object and may be edited as needed.

Note: Auto fill fields are not copied to the open plan object. 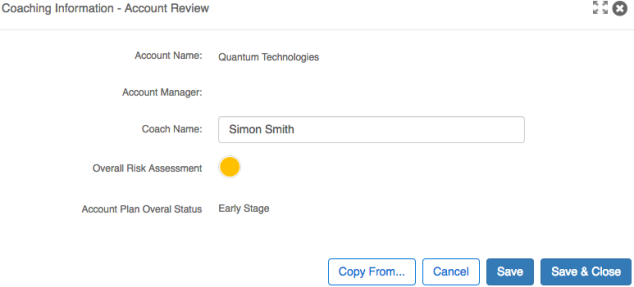
Additional resources and help links may be attached to a plan object. These resources provide you with supplementary information and tools, for example, a video, a template, or a quick reference guide.
-
Hover over each icon in the top right corner of the plan object to view details.

- Click an icon to open the resource. The display behavior of a website or a document is determined by your browser settings. For example, a website may open in a new browser tab or window.
If you are viewing a plan object from a tab, then the help links are all under one icon in a drop down list. Click each drop down item to access the additional content.
If fields in a table: two column plan object are integrated with your CRM, they behave in one of three ways:
- The fields may be read-only. This means the information must be updated in the CRM and pulled into Revegy.
- The fields may be edited as usual, but the data may also be updated in the CRM. This means integration works both ways, updates are pushed and pulled into Revegy and the CRM.
- The field may be edited as usual, but the data in the CRM may be read-only. This means information must be updated in Revegy then pushed into the CRM.