Generic Maps
- What are generic maps and what do they look like?
- How to filter generic maps
- How to add new cards
- How to link a related opportunity to a card
- How to edit cards
- How to delete cards
- How to use locked templates
- How to use the list view
See Maps for additional assistance with functionality such as printing, exporting, and archiving, and see Drawing Maps for additional assistance in using functionality in the map view such as drawing lines and shapes.
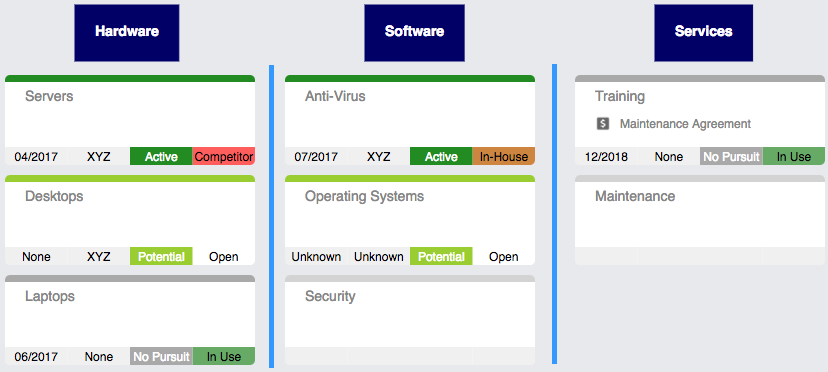
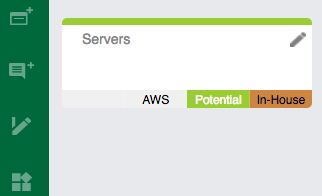
Generic maps:
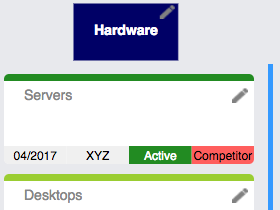
- Are used to capture information about your company, for example, capture information about product landscape to determine which products customers have of your product stack
- May be centered around a particular industry or group within your organization
- Are commonly referred to as "white space maps" or "product maps"
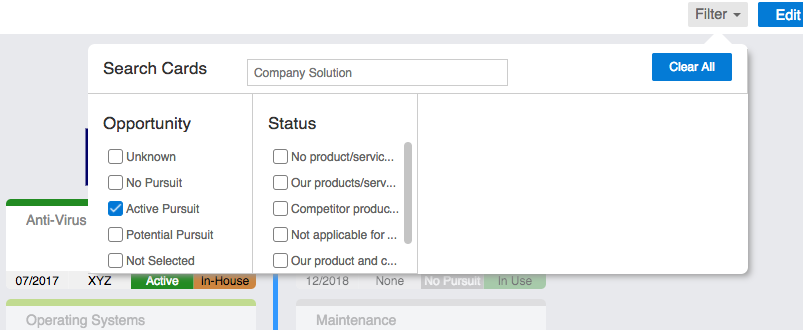
The filter option assists you in quickly pinpointing specific cards either by company solution or attributes.
- Cards that do not match your criteria fade out so that the cards that do match are easy to find.
- Use the "Clear All" button to refresh the filter.
- Click the "Filter" button to collapse the filter while you evaluate the map with your search criteria.
- You can filter the map in view or edit mode.
Add single item cards
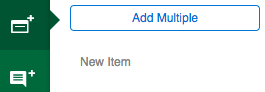
- Click the New Card icon (
 ) in the left side menu.
 -
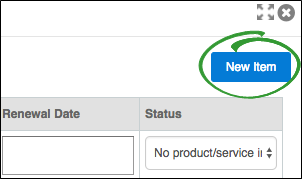
Click New Item. The "New Item" pop-up opens.
-
Enter new item information, such as selecting or entering a company solution and adding important details.
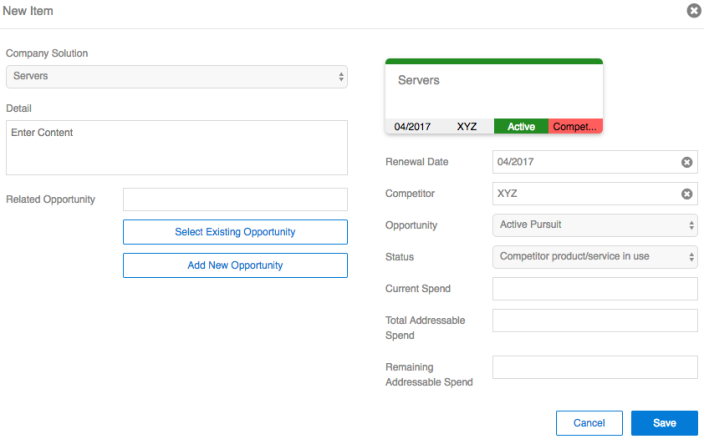
- Enter any known attributes, such as renewal date, competitor, or status.
-
(if enabled) Link an opportunity to the item card. You can open the opportunity directly from the map card once it is placed on the map.
-
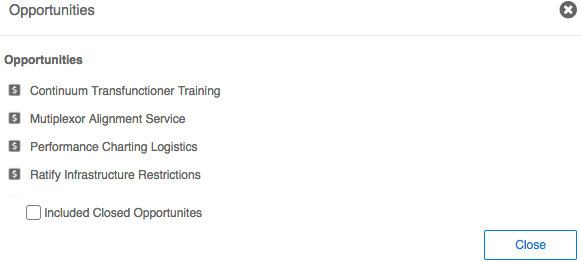
Select Existing Opportunity: Click an existing opportunity in the "Opportunities" pop-up. Select or deselect "Included Closed Opportunities" to show or hide any opportunities marked as closed.
-
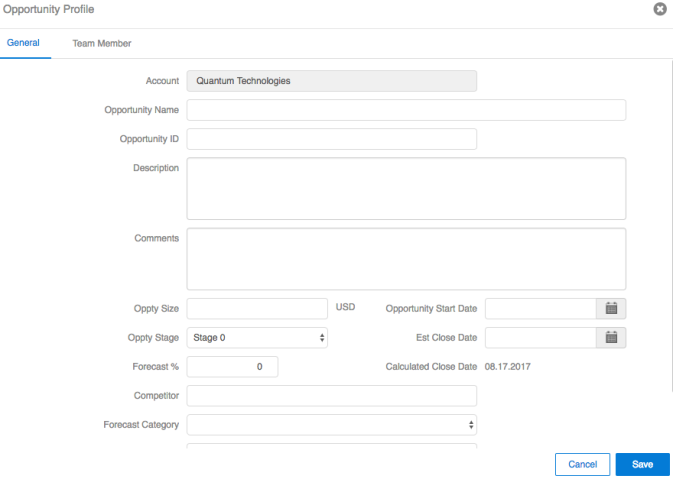
Add New Opportunity: Opens a new opportunity profile. Enter the new opportunity details and save. The new opportunity is a child of the current account you are viewing or parent account of the opportunity you are viewing.
-
- Click Save. The new card is added to the map.
-
Drag the card to the place on the map that makes the most sense.
Add multiple item cards
- Click the New Card icon () in the left side menu.
-
Click Add Multiple. The "Add Multiple Items" pop-up opens.
-
Click New Item to add a new item row to the list.
-
Edit details and attributes for each card.
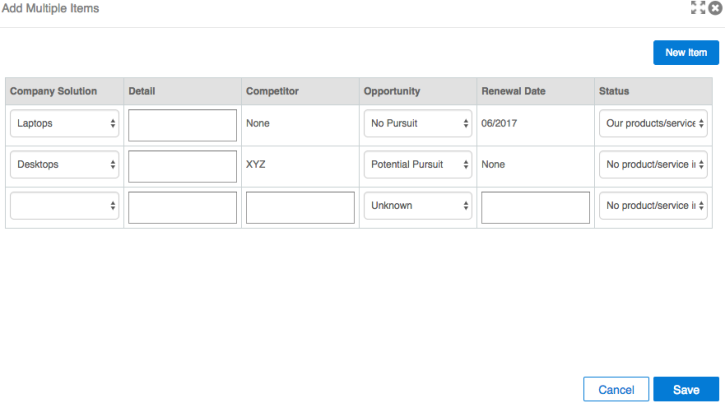
- Click Save. The new cards are added to the map.
- Drag the cards to the place on the map that makes the most sense.
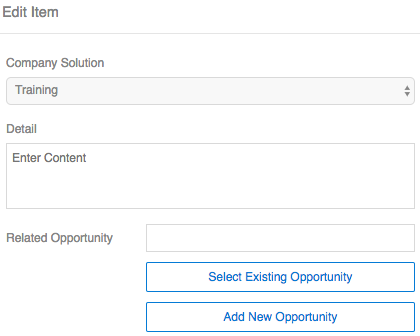
If enabled, you have the ability to link a related opportunity to an item card. When clicked on the card, the link opens the opportunity.
You can link an opportunity to a new card or an existing card.
Select existing opportunity
-
Open the item details for a card.
-
Click Select Existing Opportunity. The "Opportunities" pop-up opens.
- Select or deselect "Included Closed Opportunities" to show or hide any opportunities marked as closed.
- Click an opportunity in the list.
-
Save the item details. The opportunity link is now on the card.

Add new opportunity
-
Open the item details for a card.
-
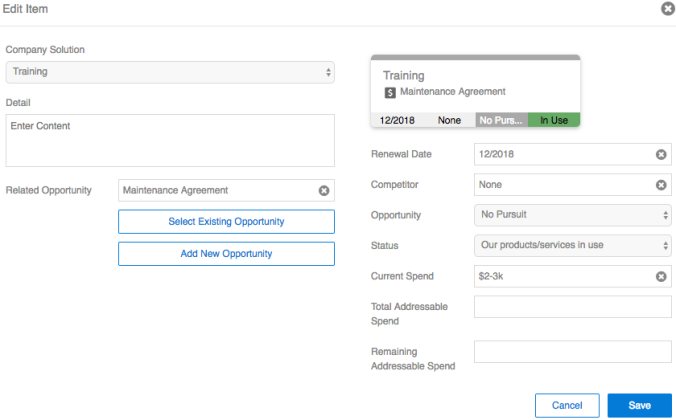
Click Add New Opportunity. A new opportunity profile pop-up opens.
- Enter details for the new opportunity. The new opportunity is a child of the current account you are viewing or parent account of the opportunity you are viewing.
-
Save the item details. The opportunity link is now on the card.
Edit individual item cards
-
Open the "Edit Item" pop-up.
- Double-click the item card.
- Click the pencil icon in the top corner of each item card.
- Select a card, click the Actions menu, then click Edit.
-
Update details and attributes.
- Click Save.
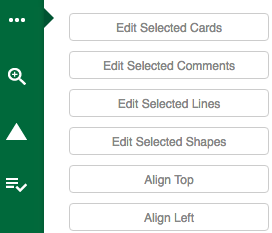
Edit multiple item cards
-
Select multiple item cards.

- Click the Tools icon (
 ) in the left side menu.
 -
Click Edit Selected Cards. The "Edit Multiple Items" pop-up opens.
-
Select and edit attributes for the items in the list.
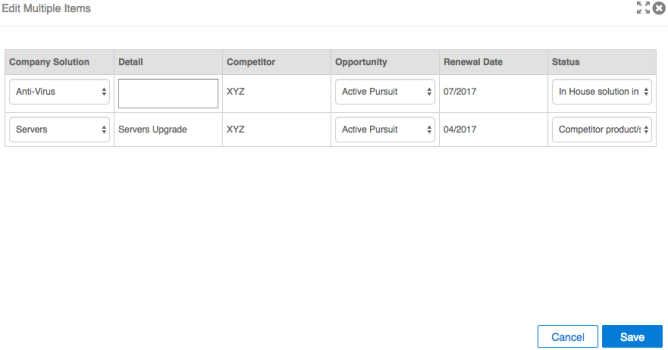
- Click Save. The items on the map are updated.
There are two ways to delete cards.
- Select one or more cards to delete, then click the "Delete" key on your keyboard.
- Select one or more cards to delete, open the Actions menu, then click Delete.
Generic maps are the maps that most often utilize templates. Some templates may be locked to prevent too many changes from being made. This keeps consistency in all accounts or opportunities and is easy to maintain from an administrative perspective.
Locked templates typically take the form of product maps.
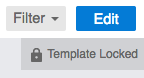
When a template is locked, "Template Locked" is in the top right corner of the map.
When you add a locked template to a map, a warning message appears that all existing data on the map is cleared.

Each time a Revegy administrator updates the locked template, a warning message appears to let you know something is updated.

No new cards, comments, lines, or shapes may be added to the map once it is locked. Only card attributes may be edited.
The list view displays a list of added item cards with their card details in a table format.

Sort
Click on any column header to sort the list by descending or ascending order.
Filter
Click Filter at the top of the list view to select filter criteria. The cards that do not match your criteria are hidden in the list.
Add new
-
Click New at the top of the list view while the map is in edit mode. The "New Item" pop-up opens.
-
Enter details and attribute information for the new item.
- Click Save. The new item is added to the list.
Open and edit
- Double-click an item card, or highlight a card in the list.
- Click Open at the top of the list view while the map is in edit mode. The "Edit Item" pop-up opens.
- Click Save after you have finished making changes.
Delete
- Highlight an item in the list.
- Click Delete at the top of the list view while the map is in edit mode.